How to Set Up a Construction Materials Testing Lab
Apr 27, 2026
Setting up a construction materials testing lab from scratch is one of the most consequential decisions a testing firm, contractor, or engineering department can make. Done right, it becomes the operational nerve center for every quality control decision on every project you touch. Done wrong, it produces unreliable data, regulatory headaches, and costly re-work on the job site. This guide walks you through what a properly equipped construction materials testing lab needs from the core equipment categories to the industry standards that define how every test must be performed.
Why a Dedicated Testing Lab Matters for Construction Quality Control
Construction quality control is not just a checkbox. It is the process that connects raw material procurement to structural performance, and the lab is where that connection gets verified. When a batch of concrete is cast into concrete test cylinders and cured under controlled conditions, the compressive strength result either confirms or challenges the mix design on record. When a soil sample goes through the Atterberg limits test, it tells a geotechnical engineer whether that material can safely support a foundation or whether stabilization is needed before any load is applied.
A well-equipped construction materials testing lab gives your team the ability to make those calls confidently, with data that holds up to scrutiny from project owners, inspectors, and regulators. Every result you produce in the lab carries weight that extends far beyond the walls of the building; it becomes part of a permanent record of construction quality.
Step 1: Define Your Testing Scope
Before purchasing a single piece of equipment, identify the material categories your lab will regularly test. Most full-service construction testing labs cover some combination of soil, concrete, asphalt, cement, and aggregate. However, a lab that focuses primarily on pavement work will have a very different equipment profile than one that supports residential and commercial building construction.
Narrow labs often specialize in one or two areas for example, a dedicated asphalt testing lab running Marshall stability tests, asphalt Rice testing, and asphalt viscosity tests may not need a full suite of cement compressive strength testing equipment. Defining your scope upfront prevents over-investment in unused equipment and ensures every station in the lab earns its footprint.
Step 2: Build Your Soil Testing Station
Soil is the starting point for almost every construction project, and your soil testing station needs to handle both field samples and lab-prepared specimens. The essentials include an automatic soil compactor machine for Proctor compaction tests, Atterberg limits test equipment for plasticity analysis, and a CBR field test set for subgrade strength evaluation.
Moisture content is one of the most frequently measured properties in soil testing, so reliable soil moisture testing equipment is non-negotiable. For in-situ work that supports the lab, field density test equipment and penetrometers bring field data back into the controlled lab environment for further analysis. Labs supporting geotechnical investigations will also want triaxial test equipment for soil strength and soil permeameters to characterize drainage behavior. Soil test kits and soil pH testers round out the station for projects involving contaminated or agricultural soils.
Step 3: Set Up Your Concrete Testing Area
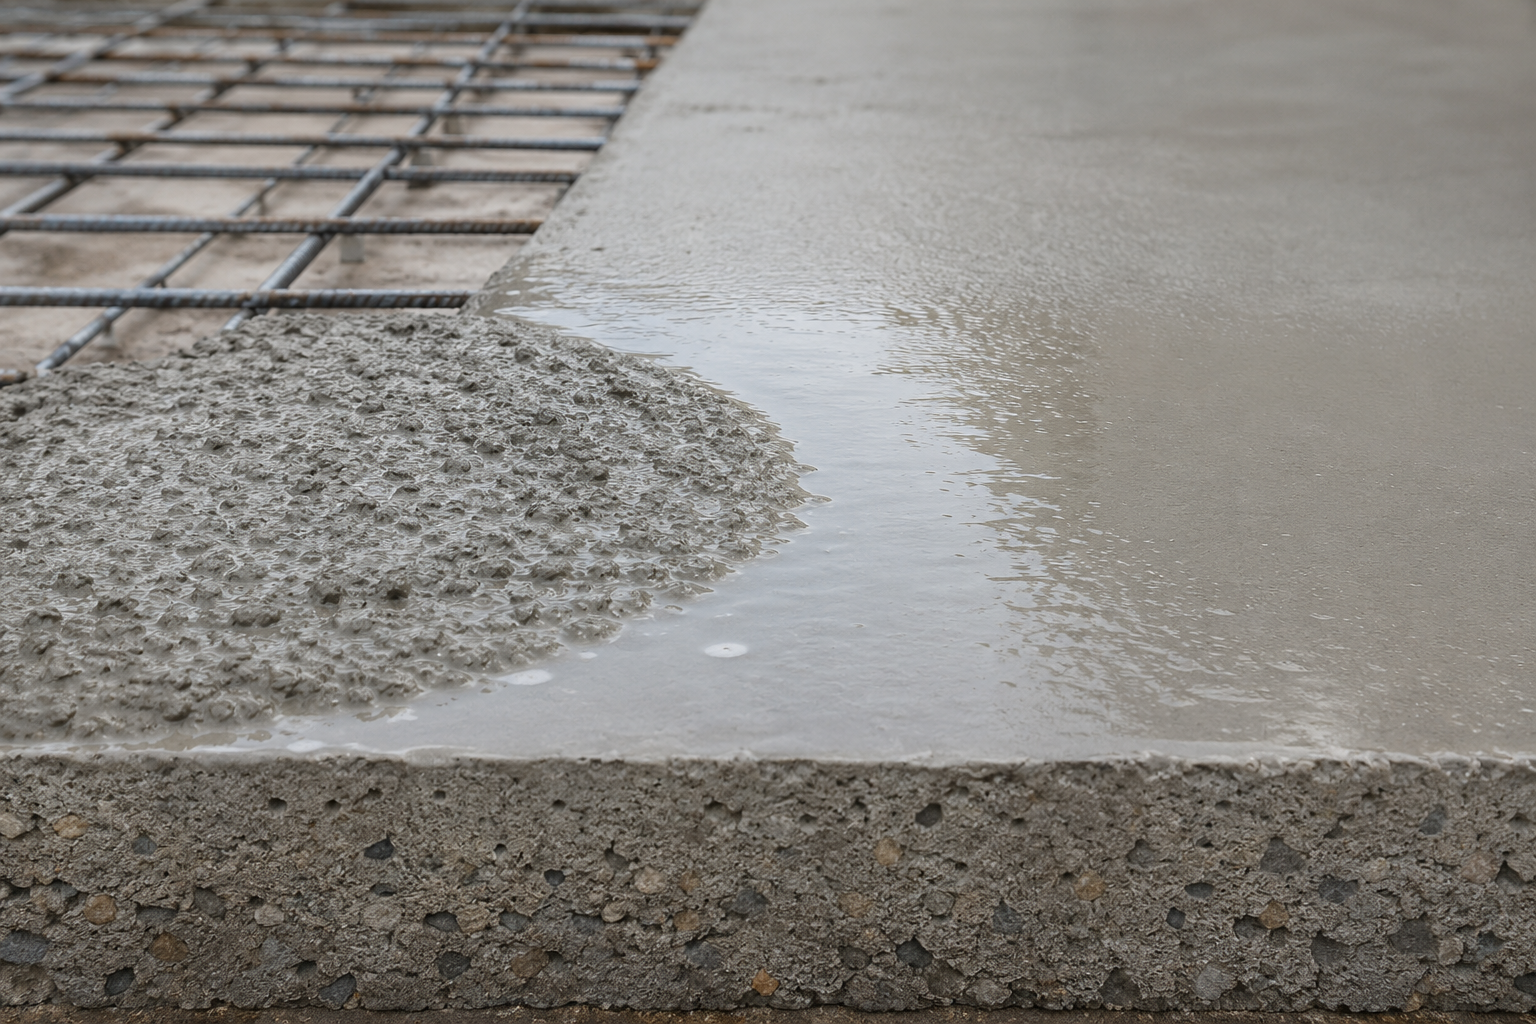
The concrete testing area is the busiest part of most CMT labs. Fresh concrete arriving from the batch plant needs to be checked immediately for workability via the concrete slump test, air content via concrete air entrainment meters, and density via the density test of concrete procedure. These are all fresh concrete testing methods that need to happen within minutes of sampling.
Once cylinders are cast and cured, monitored carefully with reliable concrete curing equipment the hardened specimens go to the concrete compressive strength testing machine for break testing. Labs that also support pavement and slab design will need a flexural beam test setup for tensile strength measurements. For ongoing structural inspection work, non-destructive concrete testing instruments, concrete scanning equipment, and crack monitors extend the lab's capabilities into the field.
Step 4: Equip Your Aggregate and Sieving Station
Aggregate gradation testing is one of the most repetitive tasks in any construction materials lab, so investing in the right sieving equipment pays dividends quickly. A complete setup starts with a full set of ASTM test sieves or ISO test sieves depending on your project specification requirements, paired with a sieve machine for aggregate test sieves that can run multiple analyses per hour. Sample splitters and dividers ensure that the portion of material going into the sieves is representative of the bulk sample.
For fine particles and specialty applications, air jet sieves, precision electroformed sieves, and wet-wash geological sieves handle the particle size ranges that standard shaker machines can't reliably separate. Keep sieves clean and calibrated ultrasonic sieve cleaner machines and sieve brushes are essential maintenance tools that protect your equipment investment. Complement the sieving station with aggregate moisture probes and specific gravity apparatus test equipment to fully characterize aggregate quality.
Step 5: Add Cement and Asphalt Testing Capabilities
If your lab will be certifying cement or mortar products, a dedicated cement testing station needs Vicat test equipment for setting time, a cement Blaine air permeability apparatus for fineness measurement, and cube molds for cement tests for compressive strength verification. Mortar testing and grout testing capabilities round out a cement lab that can support masonry and post-tensioning applications.
For asphalt-focused labs, the priorities shift toward asphalt extraction machine tests, asphalt pavement testing equipment, and bitumen tools for asphalt binder evaluation. SHRP road test equipment is necessary for labs supporting Superpave mix design, while asphalt ductility tests and penetration tests for asphalt cover older binder specification systems still in use across many state DOT contracts.
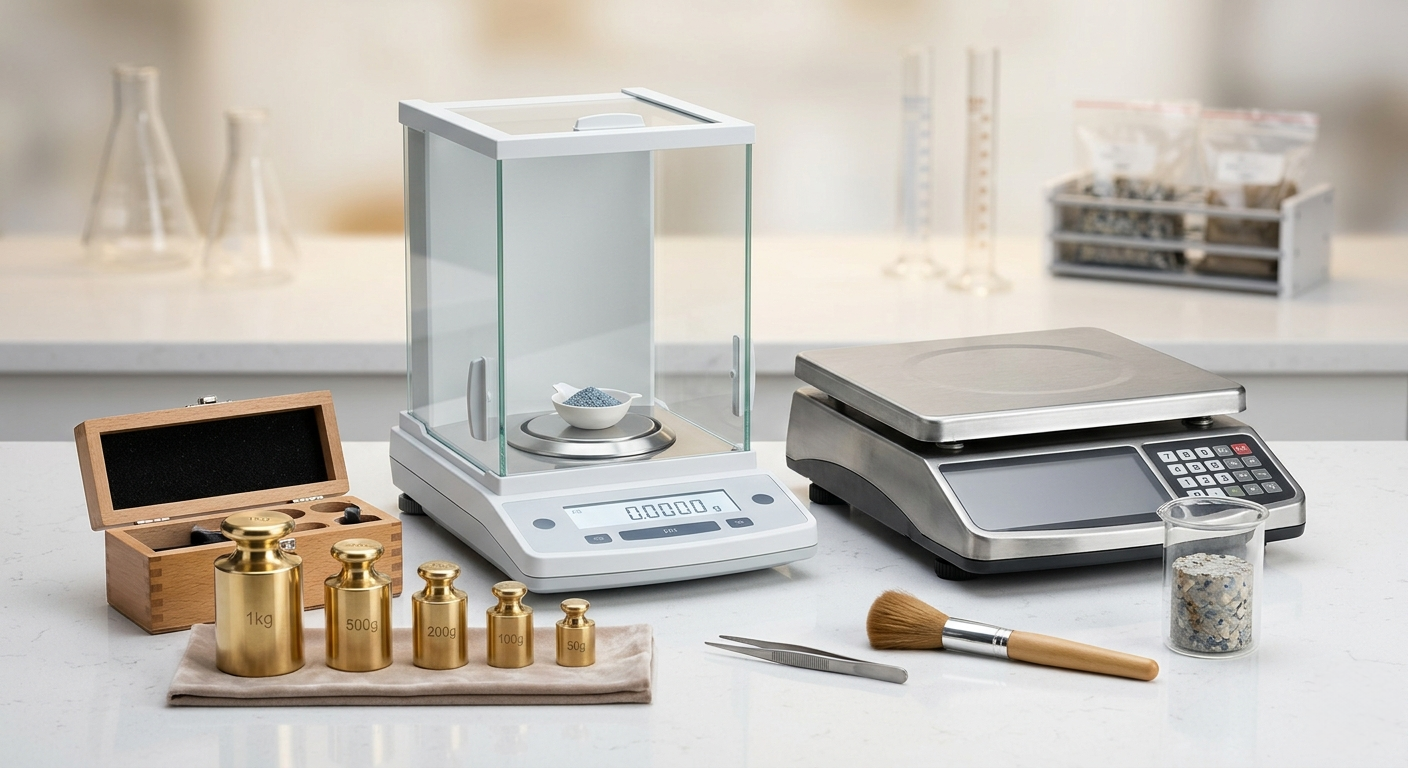
Step 6: Invest in Lab Scales, Ovens, and Thermometers
Every material test regardless of the material type requires weighing, drying, or temperature monitoring at some point. These support instruments are not optional; they are the infrastructure that makes every other test possible.
Your scale selection should match your testing volume and accuracy requirements. Bench scales for material testing handle most routine weighing tasks, while lab mechanical balances and moisture analyzers bring precision to moisture content and small-mass measurements. Trusted brands like Ohaus, Adam Equipment, and Radwag offer verified accuracy and long service lives. Always maintain your scales with balance calibration weights on a documented schedule calibration records are often required by ASTM procedures and third-party accreditation bodies.
For drying, a selection of lab ovens, benchtop convection ovens, and where needed, economy muffle furnaces or industrial furnace ovens covers the temperature range from standard soil drying (110°C) to ignition testing at much higher temperatures. Temperature uniformity and stability inside the oven directly affect the accuracy of moisture content results, so invest in ovens with verified calibration.
Temperature monitoring throughout the lab and in the field requires a range of instruments. Digital thermometers, thermocouple probes, digital infrared thermometers, and data loggers provide the flexibility to monitor everything from asphalt paving temperatures to concrete curing chamber conditions. Min max thermometers and temperature and humidity measuring instruments are particularly useful for curing rooms and storage areas where environmental conditions must be maintained within specification.
Step 7: Know Your Standards - ASTM, AASHTO, and ISO
No piece of equipment matters if it isn't used to perform tests in compliance with the governing standard. Every major construction materials testing procedure is defined by ASTM International, AASHTO, or ISO and those standards specify not just the procedure, but the equipment tolerances, specimen dimensions, curing conditions, and acceptance criteria. Before your lab runs its first official test, identify which standards apply to your clients' projects and verify that your equipment meets the minimum requirements specified within each method.
Many tests require ASTM-compliant or AASHTO-compliant equipment markings, and some accreditation programs (such as AASHTO's Laboratory Accreditation Program, CCRL, or Cement and Concrete Reference Laboratory inspection) will audit your equipment against the applicable standards during assessment visits. Certified MTP supplies products that meet or exceed ASTM, AASHTO, and ISO standards across all product categories making specification compliance a straightforward starting point for any new or expanding lab.
Building a Lab That Grows With Your Workload
A well-designed construction materials testing lab is not a static investment, it should be planned with expansion in mind. Start with the core equipment your current project mix demands, document everything with a proper equipment management program, and add capacity as your workload and accreditation scope grow. Explore Certified MTP's full range of soil testing equipment, concrete testing equipment, asphalt testing equipment, cement testing equipment, aggregate testing equipment, lab scales, industrial ovens, sieving equipment, and thermometers to build or upgrade the lab your projects deserve.
Have questions about which equipment is right for your testing program? Contact the Certified MTP team. Our specialists are ready to help you select the right tools for your lab and your standards.