Step-by-Step Honeycomb Rectification in Concrete
May 14, 2026
Concrete honeycombing is one of the most common defects found on construction sites. It appears as voids or cavities in hardened concrete where mortar fails to completely fill the spaces between coarse aggregates. Besides affecting the appearance of the structure, honeycombing can significantly reduce durability, expose reinforcement to corrosion, and weaken structural integrity if not repaired properly.
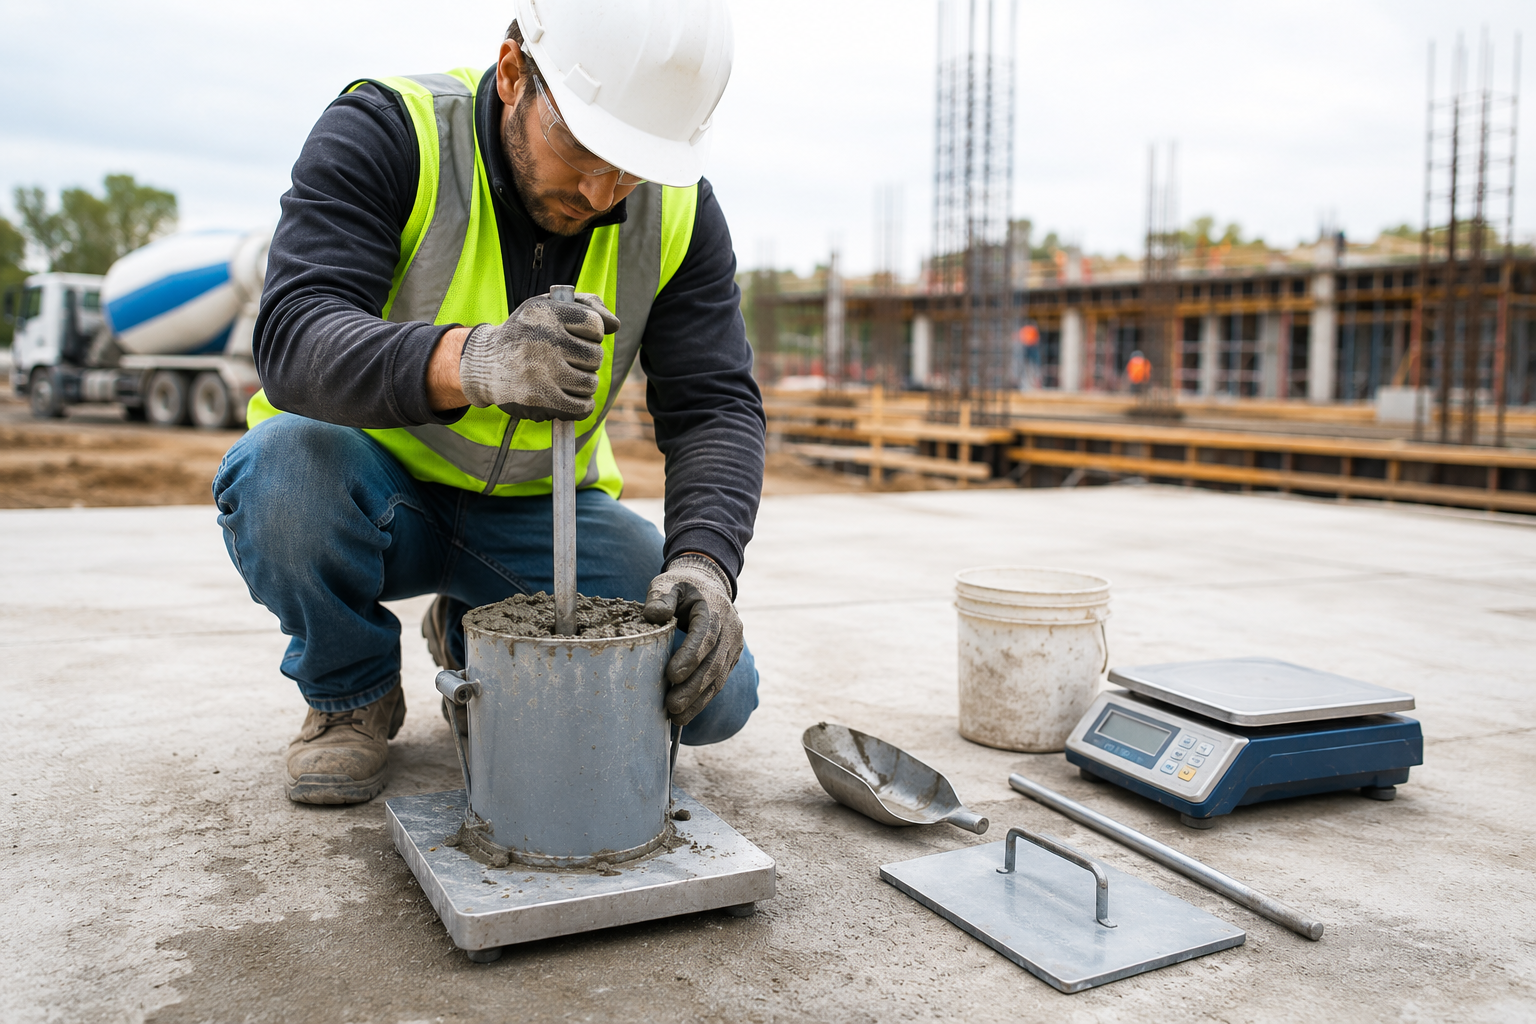
Honeycomb defects are usually caused by poor concrete workability, improper vibration, inadequate compaction, congested reinforcement, or issues with concrete placement. This is why maintaining proper concrete consistency through quality control procedures such as the concrete slump test is critical during construction. According to ASTM C143 guidelines, slump testing helps determine whether fresh concrete has the correct workability for placement and compaction.
Using reliable concrete testing equipment and following proper repair procedures can help contractors restore damaged concrete surfaces effectively while extending the life of the structure.
What Causes Honeycombing in Concrete?
Before beginning rectification, it is important to understand the root causes of honeycomb formation. Common reasons include:
- Poor concrete mix design
- Insufficient vibration during placement
- Segregation of concrete materials
- Congested reinforcement bars
- Improper formwork alignment
- Low workability concrete
- Delayed concrete placement
- Excessively dry concrete mixes
In many cases, improper slump values directly contribute to poor concrete consolidation. A concrete mix that is too stiff becomes difficult to compact properly around reinforcement and inside formwork. Proper testing with certified concrete slump test equipment can help avoid these issues before pouring begins.
For projects requiring field concrete testing, using professional-grade equipment such as concrete slump cones, tamping rods, and fresh concrete testing tools is essential for quality assurance.
Why Honeycomb Rectification Is Important
Ignoring honeycomb defects can lead to several long-term structural problems, including:
- Moisture penetration
- Corrosion of reinforcing steel
- Reduced compressive strength
- Structural deterioration
- Surface cracking
- Reduced durability
Even small voids can become pathways for water and chemicals that damage the concrete over time. Early rectification prevents further deterioration and maintains structural performance.
Research on concrete repair methods also emphasizes that proper assessment and repair selection are necessary to restore durability and structural safety.
Step-by-Step Honeycomb Rectification Process
Step 1: Inspect and Assess the Damaged Area
The first step is identifying the extent and severity of the honeycomb defect. Inspectors typically perform:
- Visual inspection
- Hammer sounding tests
- Core testing
- Ultrasonic pulse velocity (UPV) testing
- Rebar scanning using concrete scanning equipment
Minor surface honeycombing may only require patch repairs, while deeper structural defects may need extensive rehabilitation. Mark all affected areas clearly before beginning repair work.
Step 2: Remove Loose and Weak Concrete
All loose, weak, and damaged concrete must be removed completely. This process is usually performed using:
- Chipping hammers
- Wire brushes
- Needle scalers
- Light demolition tools
The goal is to expose sound concrete and create a rough surface for proper bonding. Care should be taken not to damage reinforcing steel during removal.
Step 3: Clean the Surface Thoroughly
Once the defective concrete has been removed, the repair surface must be cleaned properly. Cleaning methods may include:
- Air blowing
- Water jetting
- Vacuum cleaning
- Wire brushing
Dust, laitance, oil, and loose particles should be removed completely to ensure strong adhesion of repair materials. If reinforcement is exposed and corroded, rust removal and anti-corrosion treatment should also be performed.
Step 4: Apply Bonding Agent
A bonding agent improves adhesion between old concrete and repair mortar. Common bonding materials include:
- Cement slurry
- Epoxy bonding agents
- Polymer bonding compounds
The bonding layer should be applied immediately before placing repair material to avoid drying.
Step 5: Select the Appropriate Repair Material
The repair material depends on the depth and severity of the honeycomb. Common options include:
Cement Mortar — Suitable for shallow surface defects.
Non-Shrink Grout — Used for deeper voids and structural repairs.
Micro-Concrete — Ideal for heavily congested reinforcement areas where flowability is critical.
Epoxy Mortar — Used when high bond strength and chemical resistance are required.
For large structural repairs, high-performance repair mortars are often recommended.
Step 6: Place the Repair Material Properly
The selected repair material should be placed carefully to ensure complete filling of voids. Key practices include:
- Compacting repair mortar adequately
- Avoiding air pockets
- Layer-by-layer application for deep repairs
- Proper vibration where required
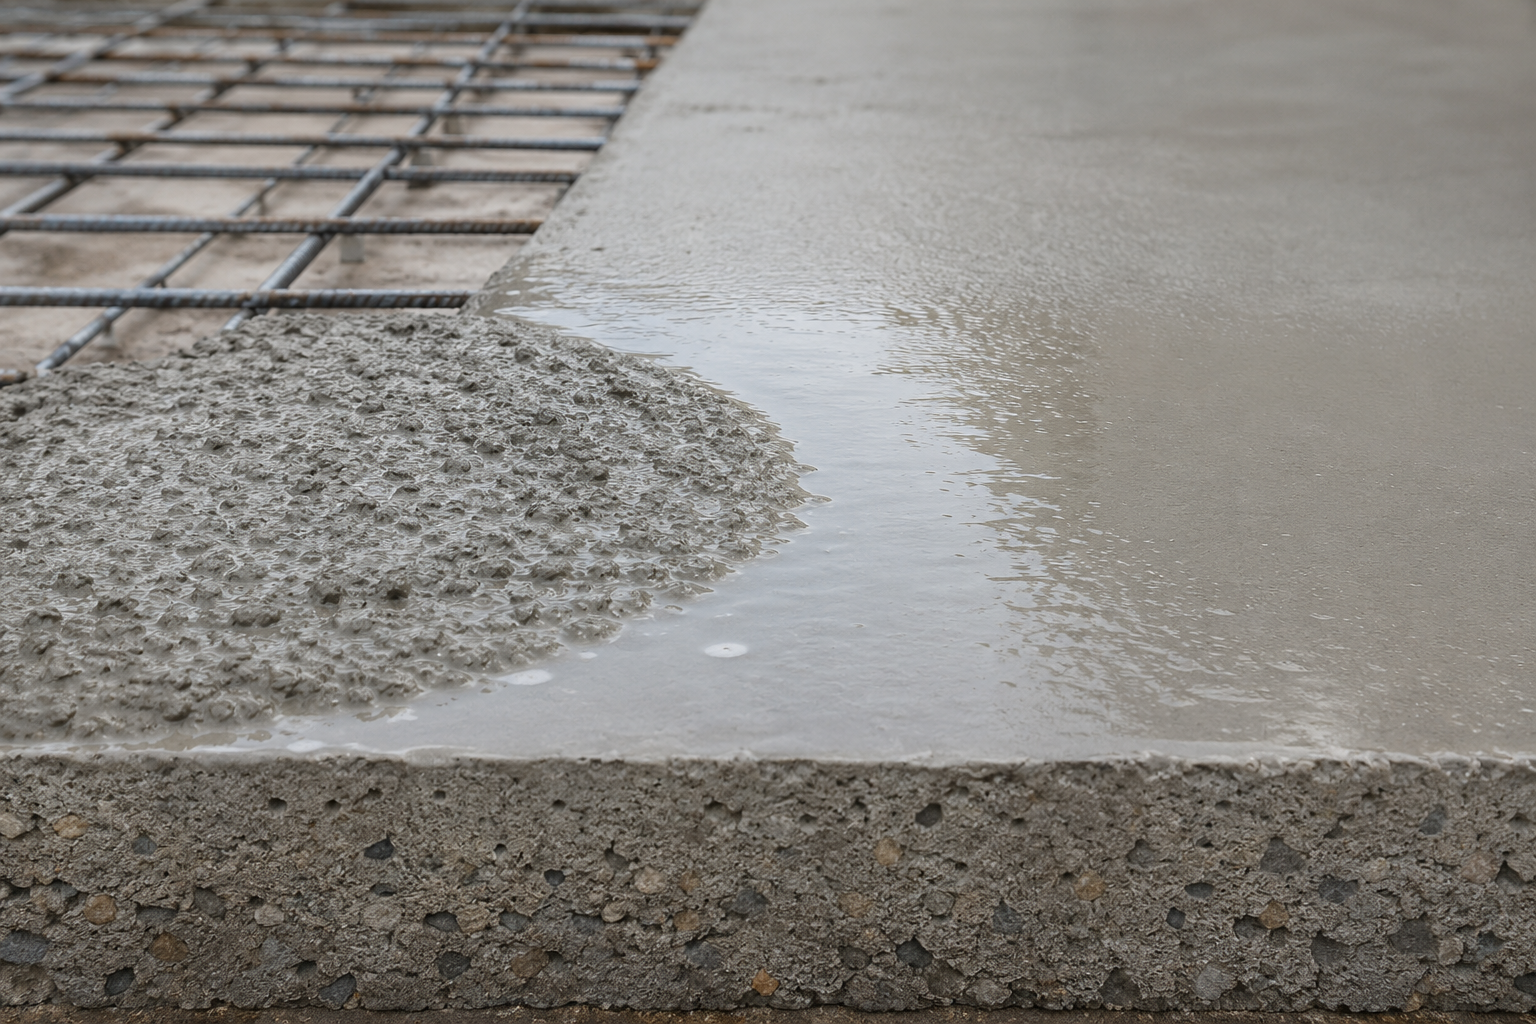
For deep honeycombing, formwork may be necessary to hold grout or micro-concrete in place. Maintaining proper workability during repair is essential — concrete with inadequate consistency can create additional voids during repair work. This is why fresh concrete testing equipment remains important even during rehabilitation projects.
Step 7: Finish the Surface
After placing the repair material, finish the surface to match the surrounding concrete. Surface finishing methods may include:
- Troweling
- Grinding
- Surface rubbing
A smooth and uniform appearance improves aesthetics and ensures proper integration with existing concrete.
Step 8: Cure the Repaired Area
Proper curing is one of the most critical steps in successful honeycomb rectification. Inadequate curing may result in:
- Shrinkage cracks
- Weak bonding
- Reduced strength
Typical curing methods include:
- Water curing
- Wet burlap covering
- Curing compounds
Learn more about professional concrete curing methods and equipment. Curing should continue for at least 7 days or as specified by the repair material manufacturer.
Preventing Honeycombing in Future Concrete Work
While repairs are important, prevention is always the better solution.
Maintain Proper Concrete Workability
The concrete slump test is one of the most effective ways to ensure fresh concrete has the correct consistency before placement. Maintaining the correct water-cement ratio improves concrete flowability and compaction while reducing segregation risks. ASTM C143 slump testing procedures help contractors verify that the concrete mix is suitable for placement conditions.
Use Proper Vibration Techniques
Insufficient vibration is one of the leading causes of honeycombing. Workers should:
- Vibrate concrete uniformly
- Avoid over-vibration
- Use the correct vibrator size
- Ensure full consolidation around reinforcement
Avoid Congested Reinforcement Issues
Closely spaced rebar makes concrete placement difficult. Using self-consolidating concrete or smaller aggregate sizes may help reduce void formation. Rebar locators and concrete scanning tools can also help assess reinforcement layouts before placement.
Ensure Quality Formwork
Poorly sealed formwork can result in mortar leakage, leading to honeycombing. Properly aligned and leak-proof formwork improves concrete quality significantly.
The Role of Concrete Testing Equipment in Quality Control
Reliable concrete testing equipment plays a major role in preventing defects such as honeycombing. Essential field testing tools include:
Consistent testing ensures every concrete batch meets project specifications before placement.
Final Thoughts
Honeycomb rectification in concrete requires proper assessment, careful surface preparation, appropriate repair materials, and effective curing practices. While minor honeycombing may seem cosmetic initially, untreated defects can eventually compromise structural durability and reinforcement protection.
Preventing honeycomb defects starts with proper concrete placement practices, quality workmanship, and accurate field testing. Procedures such as slump testing, vibration control, and proper mix design are essential to achieving durable, high-quality concrete structures.
Using professional concrete testing equipment and following industry best practices helps contractors minimize defects, improve structural performance, and extend the service life of concrete infrastructure.