Materials Testing Tips When You're Testing Your Soil
Posted by Certified Material Testing Products on Nov 06, 2014
Certified Material Testing Products offers quality materials testing equipment for those who need it. Whether you're in the construction business or you're simply a handyman, we have materials testing equipment that's affordable and just right for you. However, we don't mind giving some other advice and tips for those who just want to know how to test soil themselves without equipment. We believe it's useful information to have.
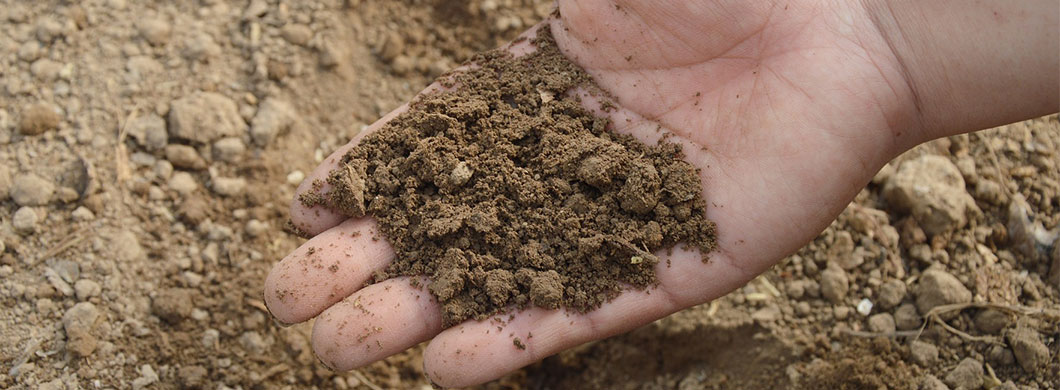
1. You can test what type of soil you have, take some in your hand. If it holds it shape but crumbles when you poke it, you have loam! This is considered ideal soil. If it holds its shape in your hand and when you poke it, you have clay. If the soil falls apart as soon as you open you hand, you have sandy soil.
2. The percolation test determines whether your soil has problems draining. Dig a hole about 6 inches wide and a foot deep. Then, fill it with water and let it drain and fill it up again. Keep track of how long it takes this water to drain and if it takes longer than 4 hours, you have a drainage problem.
3. You can perform the worm test to see how healthy your soil is. Your soil must be eat least 55 degrees and relatively moist but not too wet. Then, dig a hole one foot wide and one foot deep and place the soil on some tarp or cardboard. Sift through the soil, counting the earthworms as you place the soil back into the hole. If you have at least 10 earthworms, your soil is good and healthy.

